How to Make Upcycled Planters

September 1, 2021
Cute, quirky and totally practical... Upcycled planters are a great way to brighten up your garden and at the same time, recycle! Here's how to make them.
You will need:
- Old items that can be filled with soil such as gumboots, teapots, watering cans
- Potting mix
- Selection of plants or seeds
- Optional - hammer/nails/string/rope if hanging the planter
How to make:
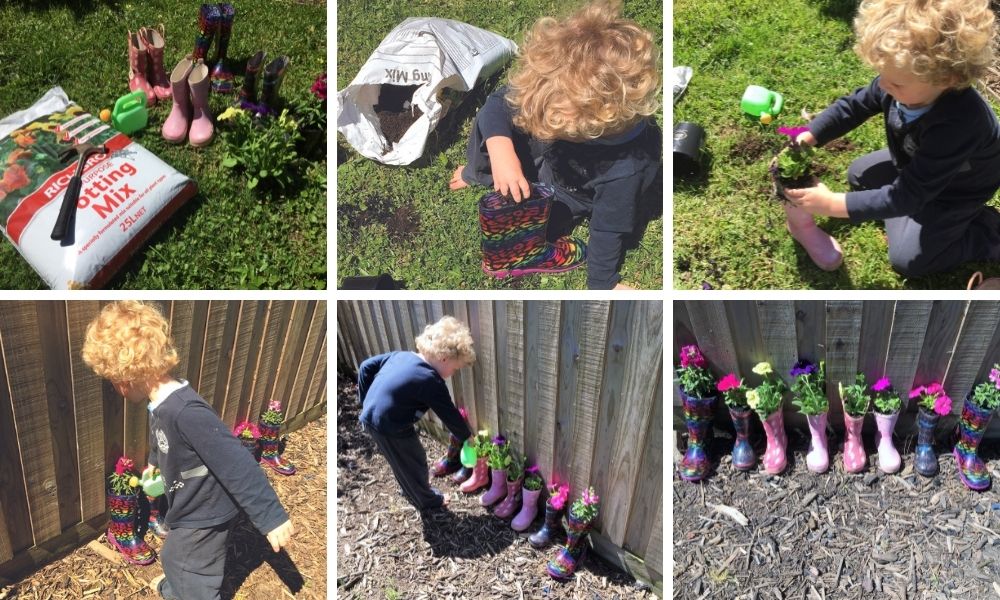
- Create 3-4 drainage holes in the bottom of each item, then fill with soil to about 1.5cm from the top (if you plan on hanging the item, now is the time to either attach to the fence/wall or attach string to hang the item from).
- Transplant individual plants into each item, or if using seeds, sow your seeds at the suggested depth listed on the back of the pack.
- Arrange your items into your desired layout (we chose a straight line along a fence that gets plenty of sun).
- Water your plants then continue to water every few days, unless they get enough from the rain.
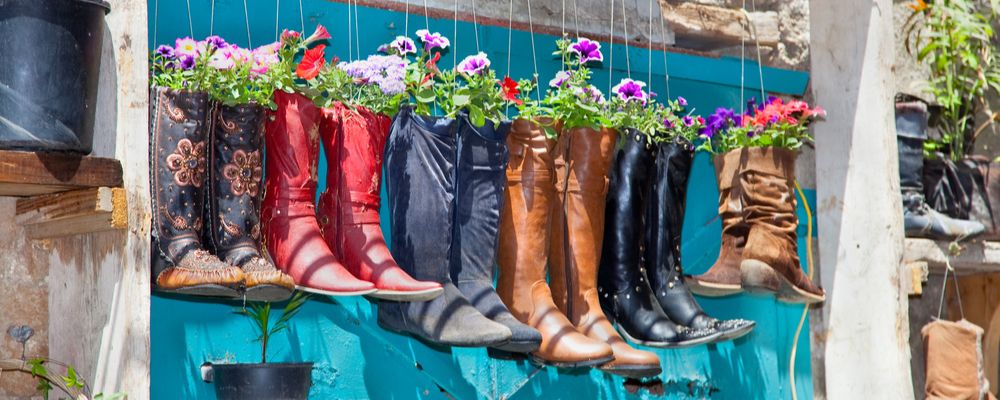
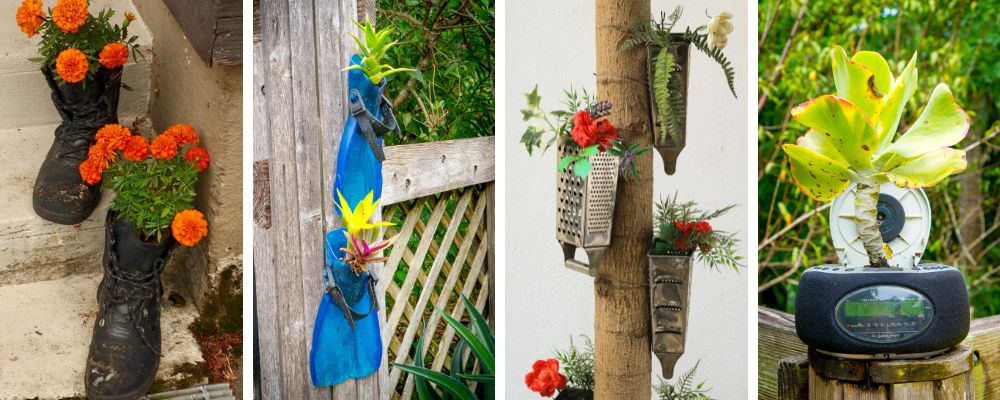
You can use loads of recycled items to make interesting planters in the garden such as old shoes, teapots, watering cans, and toys such as tipper trucks.
Mr Fothergill's has a range of seeds and kits specifically for children view the Little Gardeners range here. And for more child-friendly gardening activities be sure to check out our children's gardening blog.